On this page
Pages form the backbone of content on your site. Everything you add to the site will reside within a page. The menu at the top of the page will link to pages on your site. Understanding how to add and edit pages will help you to understand how to edit all the other areas of your website.
Adding a page
- To get started adding a new page hover over the ‘Pages‘ link on the main menu within the dashboard and click ‘Add New‘
- Add the title of the page, like ‘About’ (see below)
- Next, add some content using the page builder function (see below)
- Page Attributes
The Page Attributes section allow you to set a parent page to your new page.
The Order box allows you to order your page numerically. Pages are usually ordered alphabetically, but you can choose your own order by entering a number in this field. - Publish
When you’re ready to publish, you can either publish immediately, save this as a draft, or schedule the page to be published later.
The ‘Preview‘ button will allow you to see all the changes made to your page before saving them. If you don’t like the changes made you can reload the page without saving and every change will be discarded. Page previews will open in a new tab. - Preview the page one last time, then click Publish. You’ve added a new page to your site.
Page title
Every page added to your site requires a title. This is used to create the address of where you can view the page, but also when using the ‘Content panel’ at the top of a page it will display the page title.
You can change the page title at anytime by going to the page’s edit screen, changing the value, and clicking on the blue ‘Update‘ button on the right.
Page URL
The address or URL for the page is automatically generated from the title you type in. It is possible to change this URL, perhaps if you have made a spelling mistake or need something a little shorter.
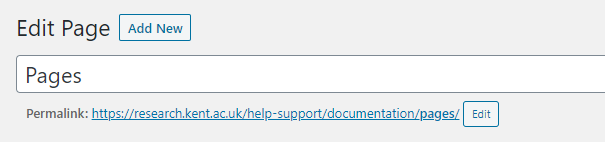
To change the page URL:
- Click on the ‘Edit‘ button underneath the page title
- Type in your new address, ensuring to replace any spaces with hyphens and do not use any special characters
- Once complete click the ‘Ok‘ button

If you wish to change the full link, such as from ‘https://research.kent.ac.uk/documentation/pages/‘ to ‘https://research.kent.ac.uk/documentation/pages/‘ you need to change the parent page. See the Parent page section below.
Note
If you change the URL for your page sometime after it was published search engines will not immediately know where it is until the site is indexed by them once again.
If the page is important and the URL change is required the Web and Learning Development team can put in place a redirect from the old URL to the new one,
Page builder + panels
Pages are built using different panels which structure and style the content effortlessly, allowing you to just focus on the content itself.
On research.kent all pages have a ‘Page builder‘ function as shown below:
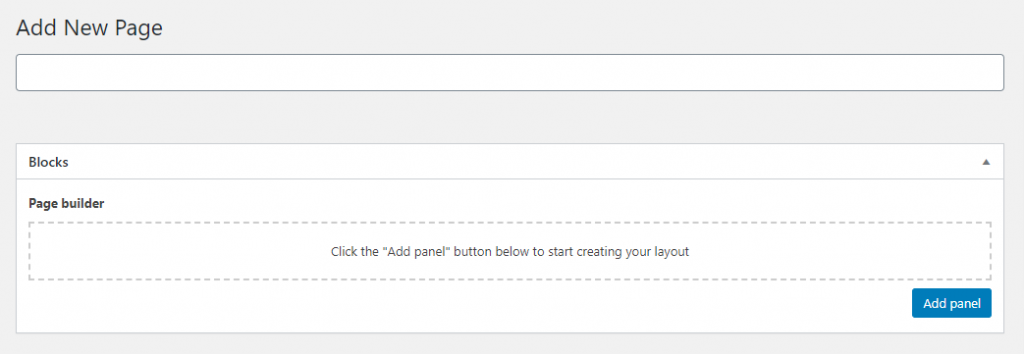
You can add panels to the page by clicking on the blue ‘Add panel‘ button at the bottom right. A long list of panels will appear which you can add to this section. As you add panels they will be added at the bottom of the page.
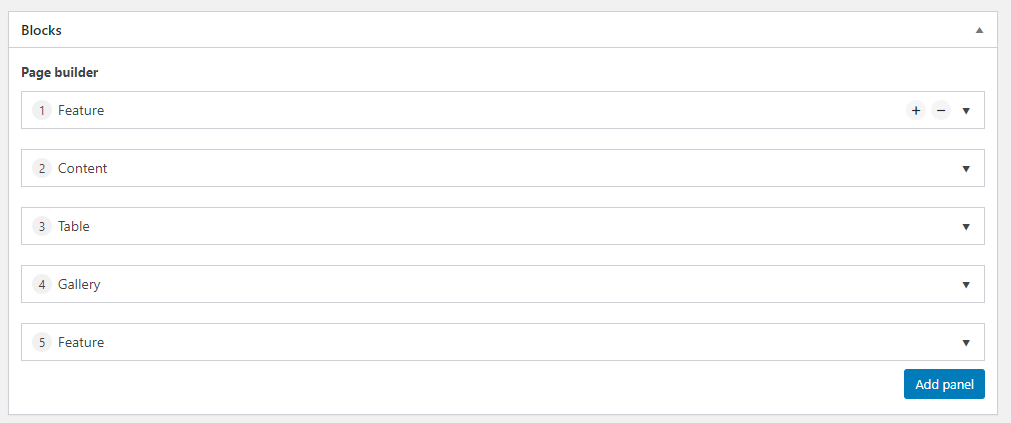
Each panel has a title bar which will tell you what type of panel it is. This bar also has some other controls, including + and – buttons which allow you to add in panels above current one, or to delete the panel. You can also minimise and maximise the panel by clicking on the arrow symbol. This allows you to have a cleaner layout whilst editing.
You can find out more information about the panels available and their configuration within the Panels section.
Parent page
Using parent pages is a good way to organize your site pages into hierarchies. A parent page is a top level page, with child pages nested under it.
For example, you could have an “About” page as a top level or parent page, and then have child pages “Our history” under it. Under “Our history” you could have another page, titled “2020”. The URLs might look like this:
https://research.kent.ac.uk/documentation/about/
https://research.kent.ac.uk/documentation/about/our-history/
https://research.kent.ac.uk/documentation/about/our-history/2020/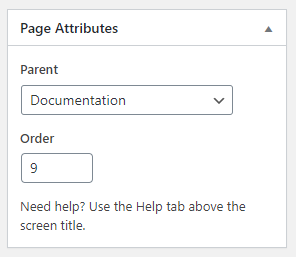
You can set the parent page from the Page Attributes panel on the right side of the page editing screen. A top level page, one with no parent will be set to ‘(no parent)‘
Some page slugs, such as “author,” “tag,” and “category” are reserved for special uses. You can’t create a child page if the parent page uses one of those reserved slugs.
Try not to have any child pages of the page set as the sites home page. If you do be aware that the homepage’s page title will form part of the URL structure.i.e. https://research.kent.ac.uk/documentation/home/contact-us
Page status and visibility
You can set different status’ to your pages which will affect how people see them:
- Published – When you save a page it becomes ‘Published’ which means it is live to all visitor who have the link / address
- Pending Review – This option is generally not used on research.kent
- Draft – Setting a page to ‘Draft’ is handy if you wish to retain a page for future reference but not make it publicly accessible to anyone with the link or to search engines.
You can edit a page’s status at anytime by going to the ‘Publish’ box on the right side of the edit screen, clicking ‘Edit’ and choosing your preferred status.
There is another feature, allowing you to change the page’s ‘Visibility’, with the options ‘Public‘, ‘Private‘, or ‘Password protected‘.
Password protected content
It is possible to limit the access to a page or post, requiring the need for the user to enter a password to view the content.
To do this set the visibility to ‘Password protected‘, you will then need to set a password. Ensure you then click ‘Update‘ to apply the change. Once protected anyone trying to view the page or post will need to enter the password. If the user puts in an incorrect password an error message is displayed.
You can view an example of a password protected page here.
Deleting a page
Pages can be easily deleted either from the ‘All pages‘ screen or or the edit screen for the respective page.
On the ‘All pages‘ screen hover your cursor over the relevant page title and click on the ‘Bin‘ button below.
If you are on the edit screen of the page you wish to delete click on the ‘Move to bin‘ button in the publish box.
Once ‘deleted’ a page will stay in the bin for 30 days before it is automatically deleted permanently. This gives you some additional time to reinstate a page if you deleted it by mistake.